
Introduction
Welcome to the world of unlimited photo editing potential. Throughout this guide, we’ll delve into the realm of Actions Photoshop presets, demystifying the secrets to furthering all your creative endeavors, whether you’re an experienced designer or a beginner.
Even if you’re just starting out, these presets can help you transform your ordinary photos into more simple works of art. They act as your gateway to the world, so let’s get started with that.
Table of Contents
Understanding Actions Photoshop Presets
Photoshop’s own actions and presets serve as a very powerful tool for streamlining your editing work flow.
Imagine having a set of pre-built actions that automatically apply a series of edits to your It also saves you time and hours of effort.
The function of these presets and their inclusion of countless effects styles and enhancements is that you can get a pretty cool and professional looking look in just one click.
How to Apply Color Presets in Photoshop
One of the major aspects that people often miss is applying color grading presets to enhance the look of their photos.
Everything from locating and loading presets to adjusting the settings for the perfect blend and all step by step.
Follow the guide as you try to see how each color project can dramatically change the mood and tone of your photo.
Downloading Actions Photoshop Presets
Here is a step by step guide to download Actions Photoshop presets for free from our website, so understand it.
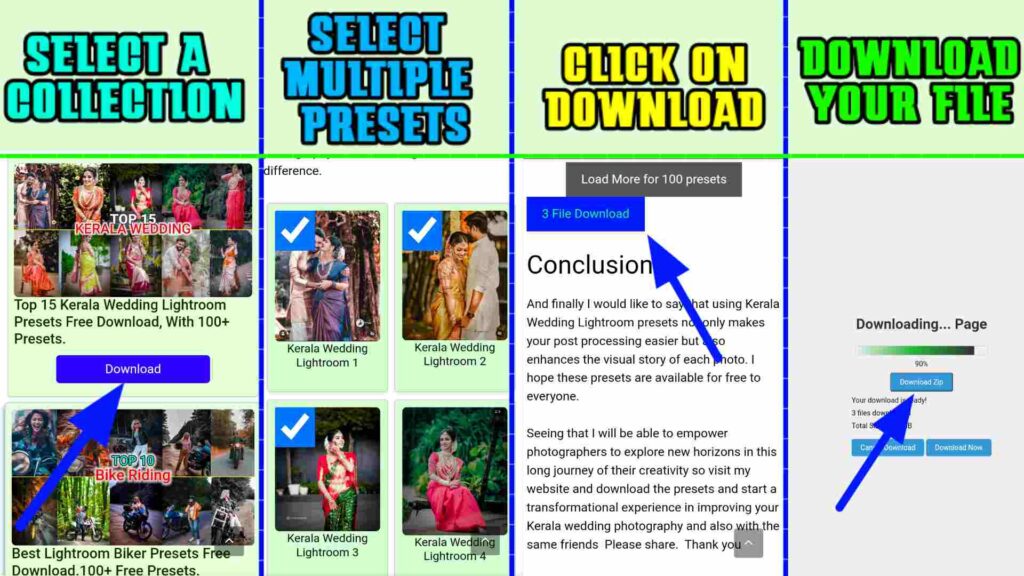
Step 1: Run our website PresetsFreeDownload.
Step 2: Search your post or open it by clicking on any of your favorite posts.
Step 3: If you go down a little in that post, you will find a collection of many presets.
Step 4: Click on those visible presets and select yours and go last.
Step 5: Finally you can download the selected preset by clicking on download zip.
So through this above step by step guide, you can easily download our presets and now it is the turn to apply the Actions Photoshop presets in your Photoshop, so let us understand that too.
Step-by-Step Guide to Applying Presets
Step 1: First of all open your Photoshop software.
Step 2: Create your new project by clicking on New Project.
Step 3: Import and arrange your photos and set up the Actions panel by clicking the Window button at the top.
Step 4: Import your preset into the Actions panel The downloaded zip file will be in your File Explorer.
Step 5: Once the preset is loaded in the action panel, apply it by clicking on your photo.
So with these above methods you can easily apply Actions Photoshop presets. Now let us know some of its features which are very unique.
Unveiling the Unique Features of Each Preset
Explore the unique features of each preset in our curated collection. Be it vintage vibes, modern aesthetics or artistic excellence, we always keep in mind what makes each preset special.
Understand the intricacies of these presets. And choose presets that suit your look and give your photos a personal touch.
Elevate Your Editing Game: Advanced Techniques
For those who want to push the boundaries, we offer some special and advanced techniques to take your editing to the next level
Editing multiple presets Creating your own custom creos and blending them with a twist Learn to experiment Unleash your creativity and maintain your identity in the digital visual landscape.
Conclusion
Finally, Actions Photoshop presets open up a world of potential for photographers and designers alike. From easily extracting your photos to experimenting with unique styles,
the journey is as exciting as the distance. Discover the power of presets to unleash yourself and your creativity. And stay connected with us for regular updates of Udaan De Tutorials.
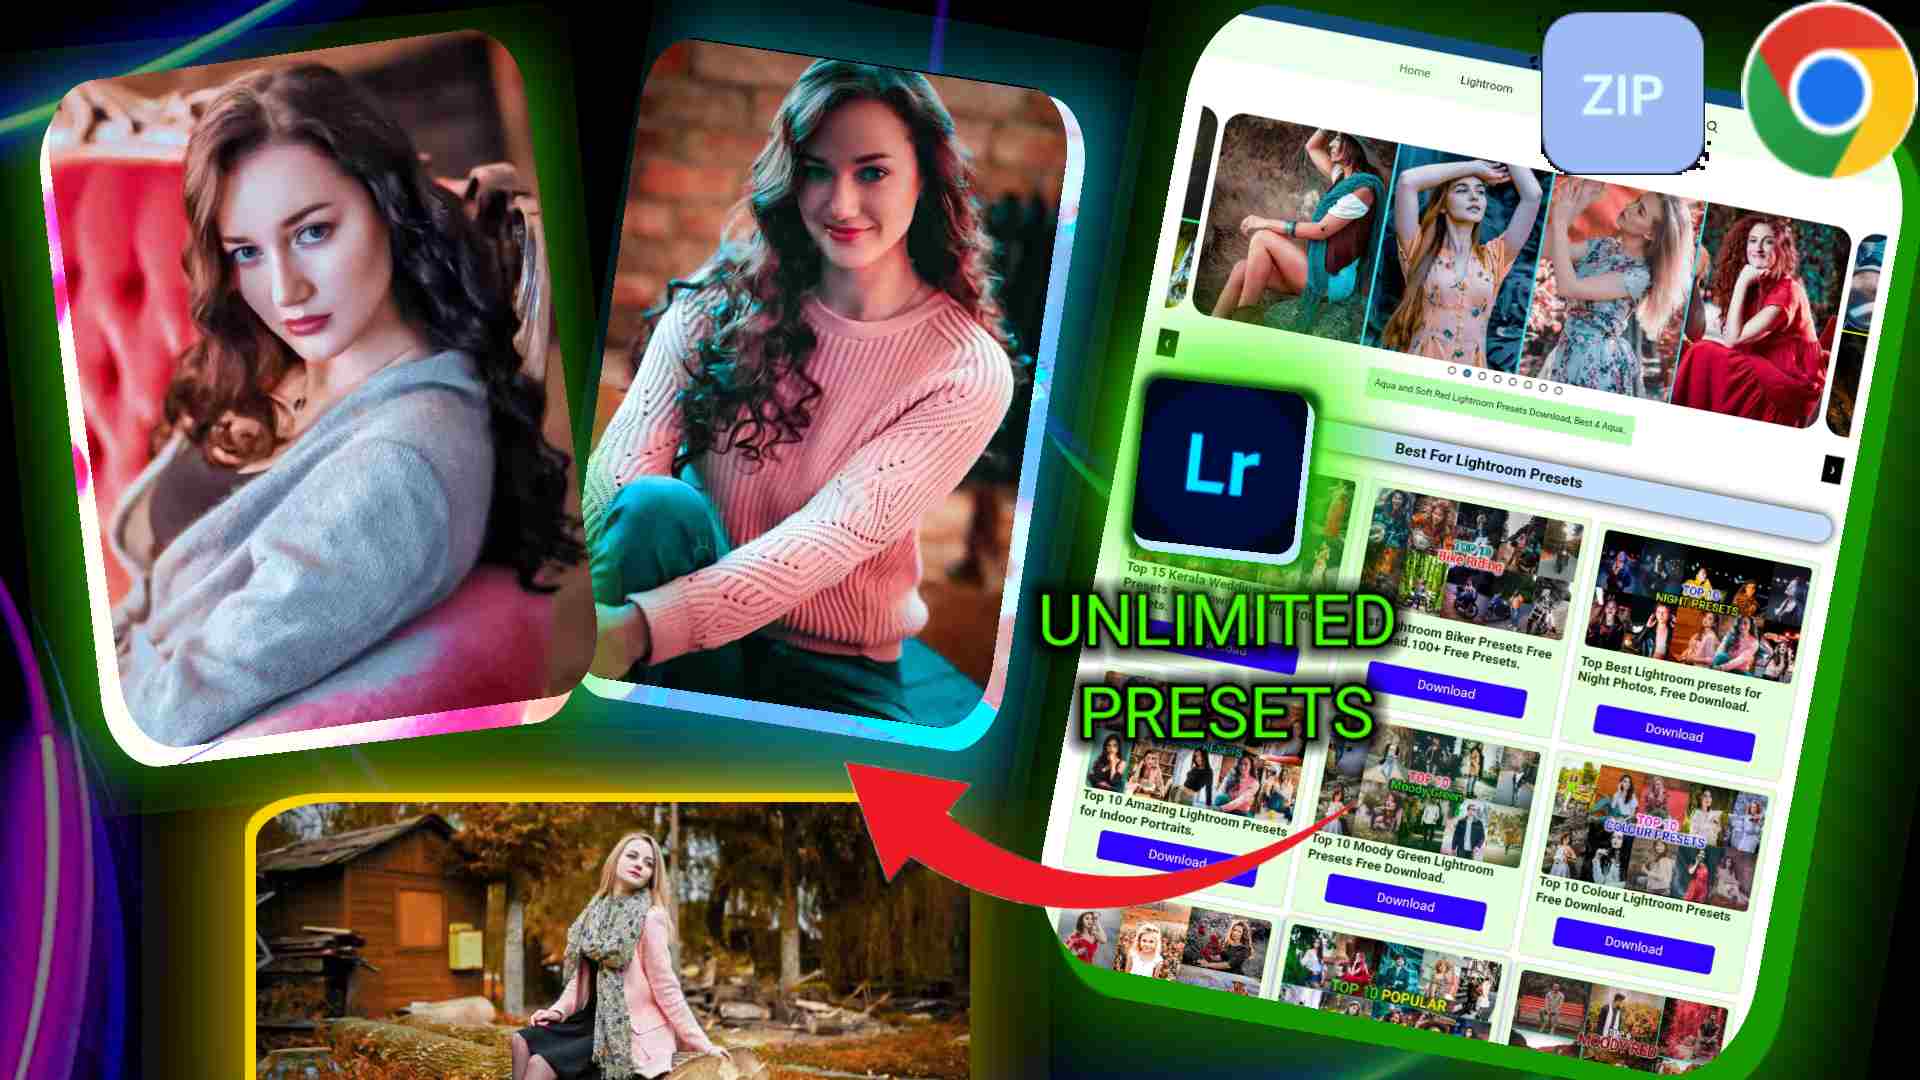
In our website, you are given many presets for free with them you can make your editing journey even more advanced where creativity has no limits.

Nitesh
Hello, friends My name is Nitesh Mallah and I am the inventor of this blog Presets Free Download. I am 18 years old and I am a part time blogging person and actually if I tell you about myself, I am a student who is currently studying in the first year of graduation. I completed my studies from 1 to 12 and did matriculation and Got a good rank in Inter.