
In the dynamic, big world of video editing, achieving a cinematic look can often be the key to capturing viewers’ attention and creating visually stunning content. One of the most powerful cinematic tools is the Premiere Pro process.
In this article, we’ll look at Cinematic Premiere Pro Presets. We’ll delve deeper into the realm of colour grading and also discover the benefits of Cinematic Premiere Pro LUTs with a step by step guide on colour grading with cinematic presets.
In this we’ll cover how to make cinematic black bars and add the full cinematic effect. So let us start by knowing its benefits.
Table of Contents
Benefits of Cinematic Premiere Pro LUTs
Cinematic Premiere Pro LUTs or Lookup Tables are very important to transform your photos into a cinematic masterpiece. These LUTs provide a better colour grading which enhances the overall look of your video editing.
By using these presets you can easily generate different unique moods, heal your emotions and maintain a unique harmonious look throughout your content. Let us now understand how to download.
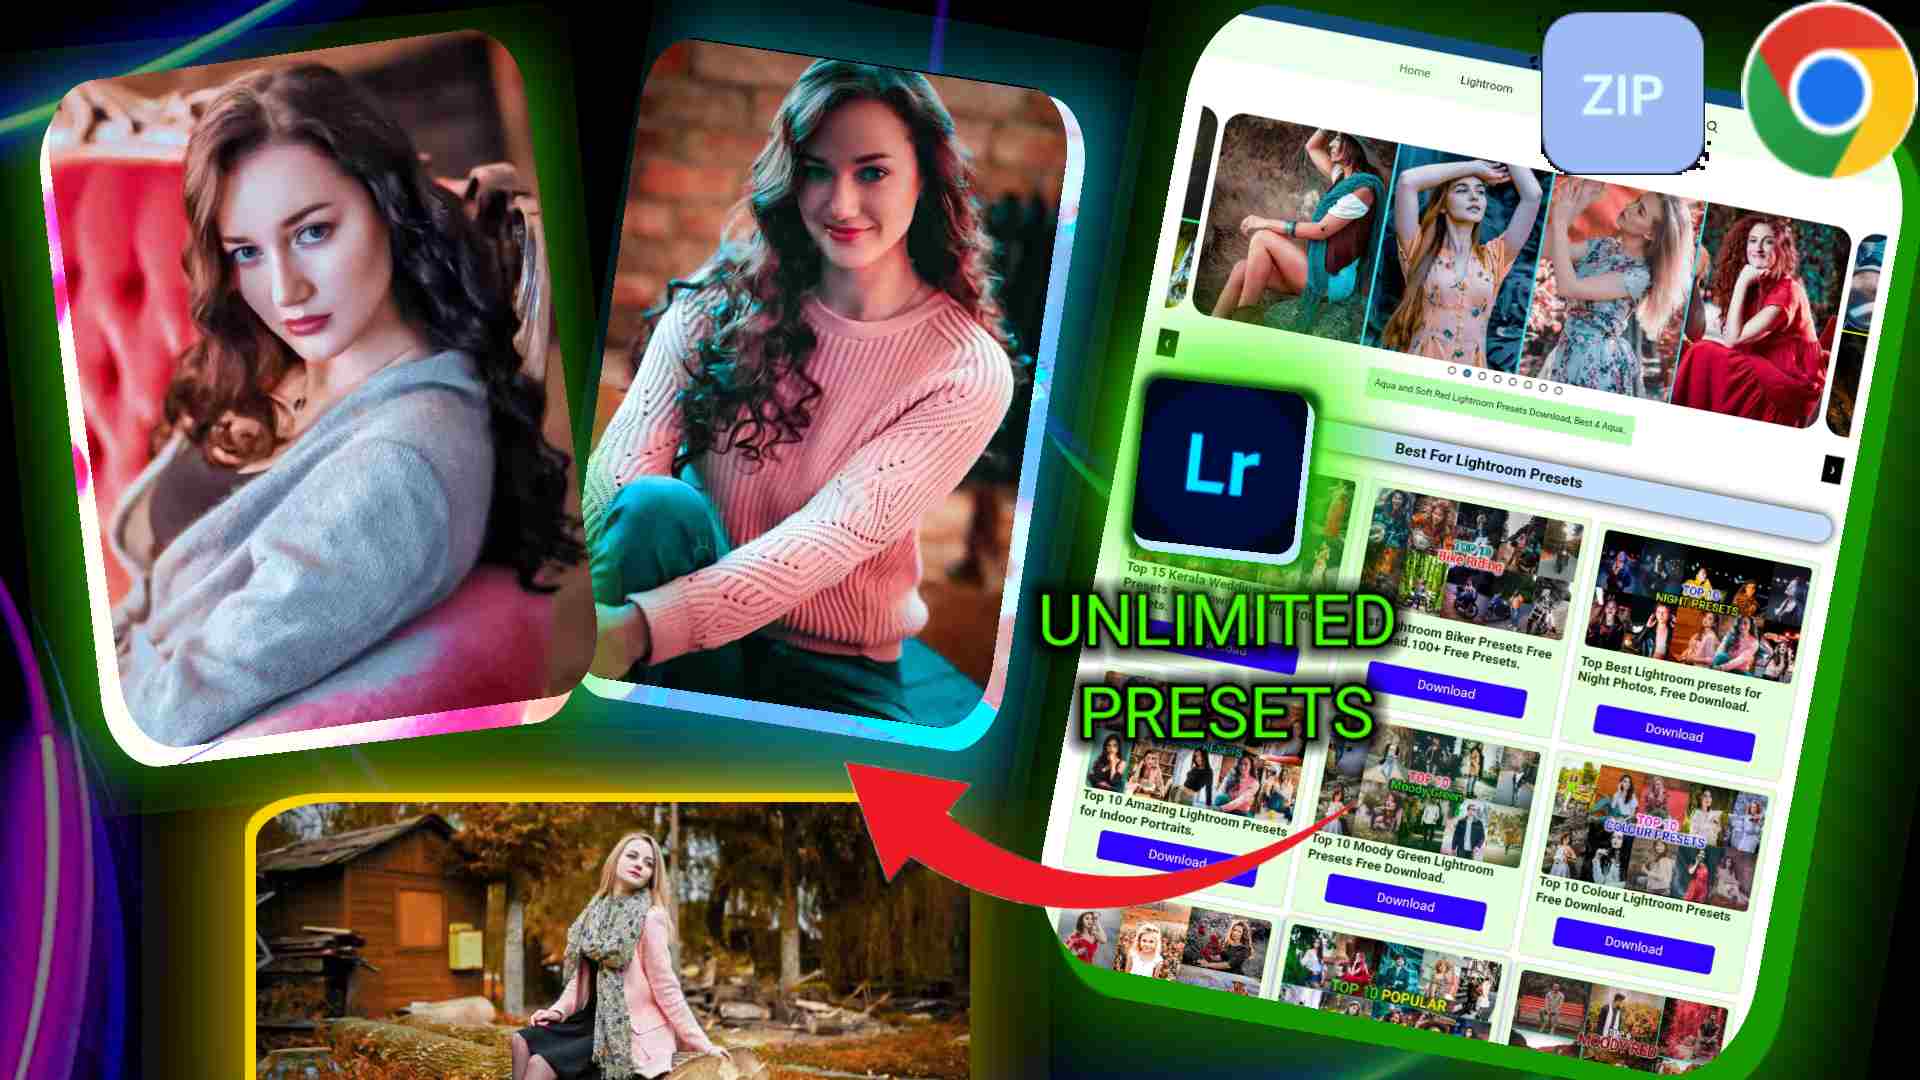
Color Grading Cinematic Premiere Pro – A Download Guide
Follow the general instructions below to download the Color Grading Cinematic Premiere Pro presets.
Step 1: Whenever you visit our website, you have to search your favourite collection by clicking on the search button on the home page.
Step 2: Or if you want to download that preset in this article, then scroll down.
Step 3: After coming to the end, you will get a download file button, you can download it by clicking on it.
Step 4: When the file download is complete, extract it from your file explorer.
So from the above mentioned methods, today we learned how you can download Cinematic Premiere Pro presets for free, so let us now know how to create cinematic black bars.
How to Make Cinematic Black Bars in Premiere Pro
Cinematic black bars, also known as letterboxing, add a next-level touch to your videos and enhance the widescreen cinematic experience.
Check out the steps to easily incorporate black bars into your Premiere Pro project.
Create a New Adjustment Layer
Right click in the Project panel of your Premiere Pro and select New Item, then Adjustment Layer, then drag and drop this adjustment layer onto your timeline.
Apply Effect
Then go to the Effects panel, find the Crop effect and apply it to your adjustment layer.
Adjust the top and bottom values to create the cinematic black bars that will create this.
How to Add Cinematic Effect in Premiere Pro
Your video editing skills can be greatly enhanced by adding cinematic effects to your projects with these Premiere Pro presets.
Follow these simple steps to add cinematic magic to your photos.
Import Presets
To apply this Premiere Pro Cinematic preset to your photos, go to the Effects panel and right click Import presets and import the downloaded preset from file explorer.
Apply Cinematic Presets
Now your project will be imported and you can see it in Effects. From there, drag and drop it over any clip in your timeline and this Cinematic Premiere Pro preset will be applied to your clip.
Colour Correction
Start with the Color correction panel to create a next-level, more natural look in your photos.
Adjust Lighting and Contrast
Adjust lighting and contrast to enhance the overall cinematic atmosphere and explore to get the look you want.
Conclusion
Finally, unlock the world of creative potential by mastering the art of Premiere Pro cinematic editing yourself and taking advantage of the cinematic Premiere Pro presets to understand the intricacies of colour grading, creating cinematic black bars and cinematic lights.
Download the free Cinematic Premium presets to take your videos to new heights by adding them.
You'll have understood everything from the guide below and have watched your videos turn into cinematic masterpieces that will captivate your audience. Please comment below to share your opinion, thank you.

Nitesh
Hello, friends My name is Nitesh Mallah and I am the inventor of this blog Presets Free Download. I am 18 years old and I am a part time blogging person and actually if I tell you about myself, I am a student who is currently studying in the first year of graduation. I completed my studies from 1 to 12 and did matriculation and Got a good rank in Inter.