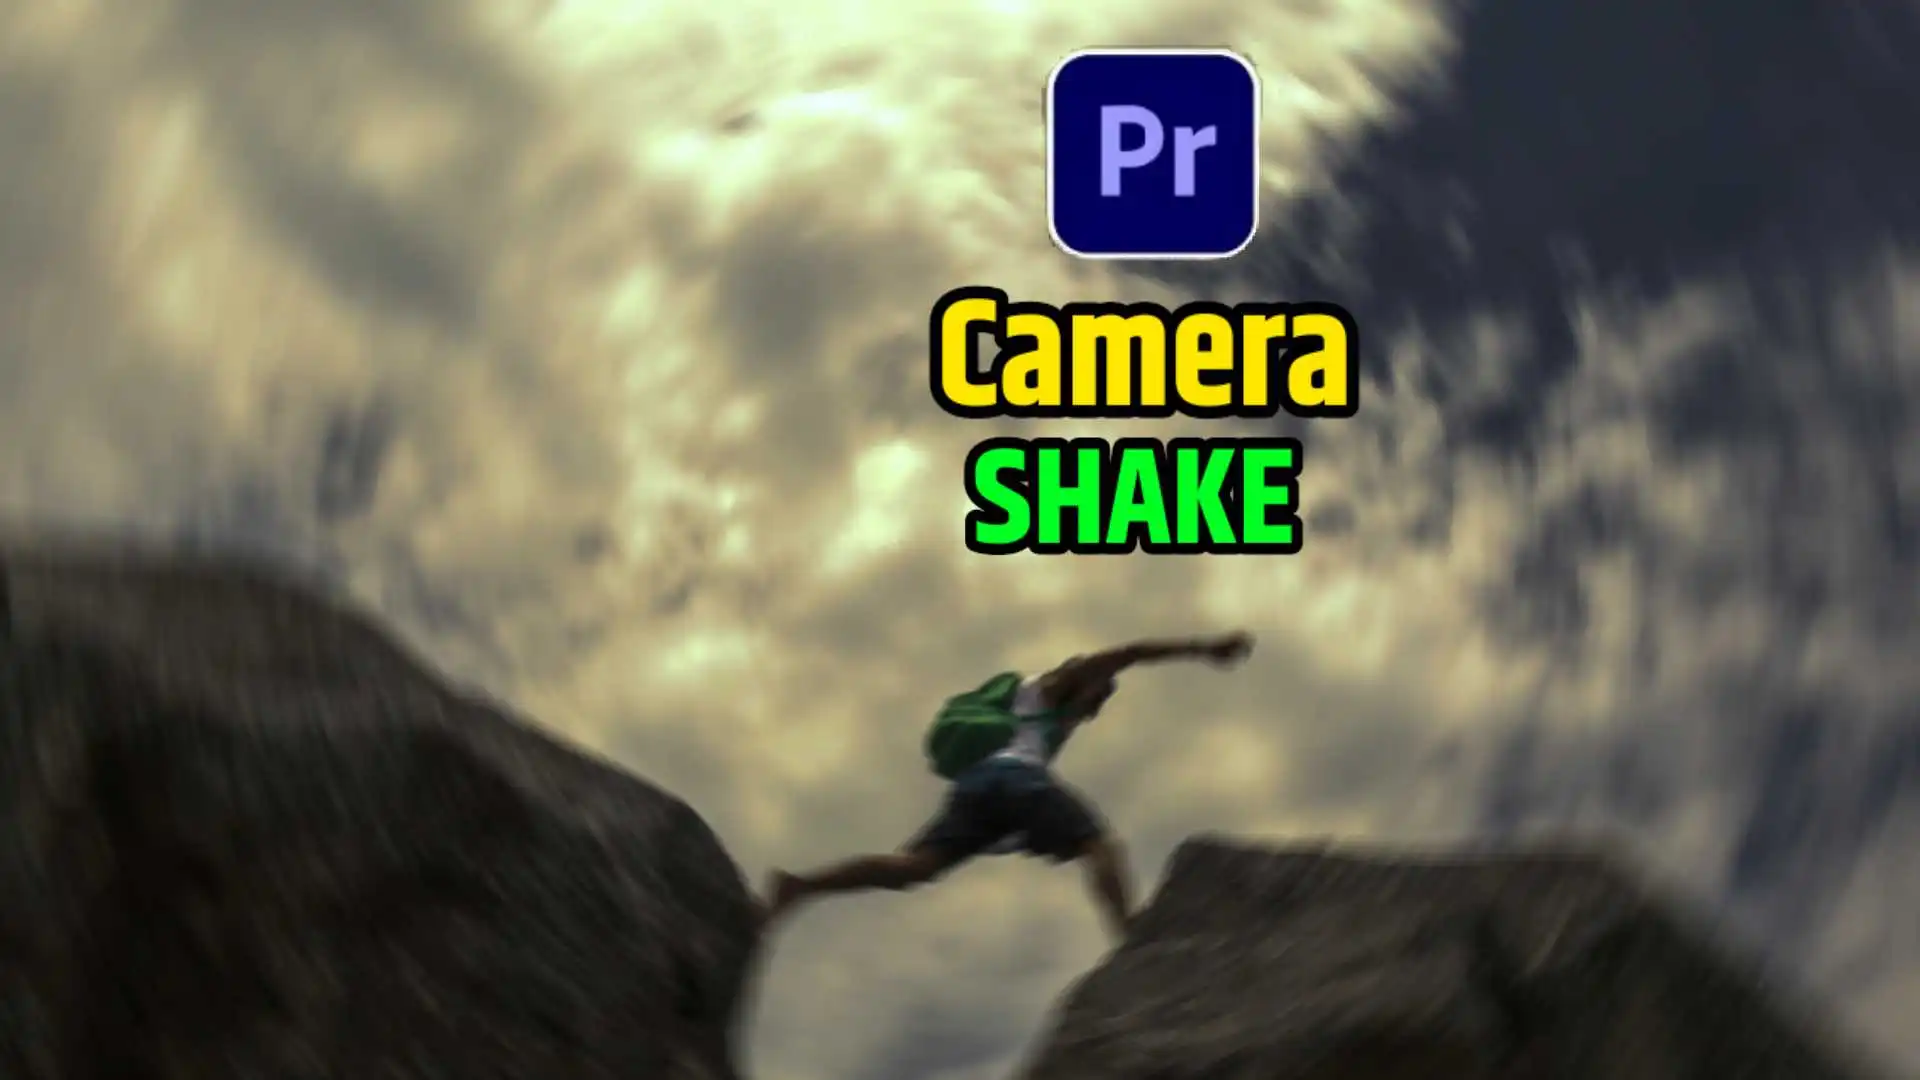
Camera shake preset Premiere Pro is a very powerful Drishya effect that can add movement and excitement to your videos making them even more attractive and entertaining. In this article we will provide you Camera Shake preset and Premiere Pro.
In this we’ll delve deeper into the world of camera shake presets, learn what camera shake is, how to add and create one in Premiere Pro, and take your video editing skills to even higher levels. And at the end we will also provide you the file to download, so let’s start with understanding it.
Table of Contents
What is Camera Shake?
Camera shake is a cinematic technique that follows the small actions people take with the camera. It adds a sense of intensity and energy to your photos in simple ways, allowing them to capture more spectacular action scenes and fast-paced editing.
This is enabled if you want to insert a circled image style request into your video. So now let us learn how to make a camera shake in Premiere Pro.
How to Make Camera Shake in Premiere Pro
To make a preset camera shake in Premiere Pro, you have to look at the simple date told below, you will become a master in making it.
Access the Effects Panel
Open your Premiere Pro software and create a new project, add the clip to the timeline and go to the Effects panel.
Locate the Camera Shake Preset
In the Effect panel, search for Camera Shake preset. You will find many presets, among the official ones, you will find Camera Shake preset.
Drag and Drop
Drag and drop that preset on any of your clips and it will be applied.
Adjust Settings
To get the best effect, you have to try it by controlling it manually, so adjust yourself and learn new methods.
How to Download Camera Shake Effect Premiere Pro
To download Camera shake effect prepare bro presets, you have to go to the official page of our website and you have to follow the steps below.

Step 1: You have to go to the homepage of our website PresetsFreeDownload.
Step 2: Click on the search button and type your favourite collection and search.
Step 3: It is visible that out of many collections, you have to click on any collection and come to that post.
Step 4: In that post, you have to scroll to the end to download that file.
Step 5: And finally you will get a download file button, if you click on that button the file will be downloaded.
So with the above mentioned methods we have now understood how to download and now let us understand how to add camera shake effect in Premiere Pro.
How to Add Camera Shake in Premiere Pro – Step by Step
To add camera shake presets to a project in your Premiere Pro software, follow the simple steps below.
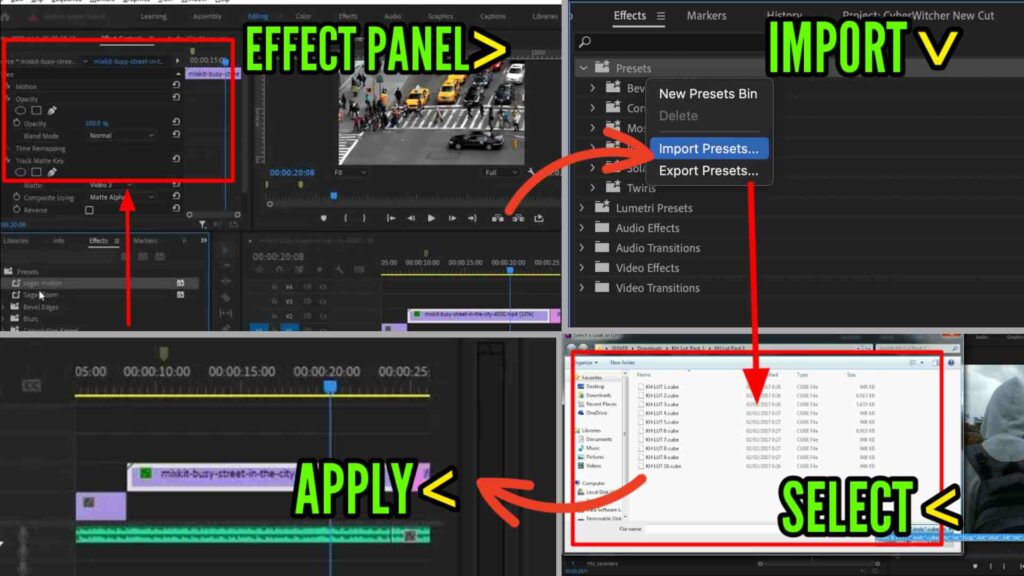
Import Your Footage
After opening your Premiere Pro software, select your photos.
Create a New Project
Click on New Project and create a new project and add the clip to your timeline.
Access the Effects Panel
Go to your effects panel and import your camera shake presets by clicking the mouse button to import them.
Apply the Camera Shake Preset
You will find the sub effect preset in your effects panel and drag and drop it over the clip in your timeline.
Adjust Parameters
Use the effect controls to speed up or customise the camera shake effect in your video and adjust the settings to your liking.
Preview Your Edit
Play and check your photo to preview different camera shake presets
Export Your Video
Once you are satisfied with your video editing, focus on exporting your video with camera shake effect.
Conclusion
Finally, this essential preset in Premiere Pro can be a game changer for all video editors who want to make their projects a high experience. From explaining what camera shake is to a guide on how to download and add it step by step.
So with this comprehensive guide you will be able to enhance your videos to achieve dynamic and engaging visuals so download and apply the set to your videos and dive deeper into your video editing realm and let us know what you think. Please comment below and share it with your friends. Thank you

Nitesh
Hello, friends My name is Nitesh Mallah and I am the inventor of this blog Presets Free Download. I am 18 years old and I am a part time blogging person and actually if I tell you about myself, I am a student who is currently studying in the first year of graduation. I completed my studies from 1 to 12 and did matriculation and Got a good rank in Inter.